K40 Laser Milliamp Meter Mod
A K40 with a digital control doesn’t actually indicate actual laser power. The only way to reliably measure the current from a laser tube is to add a milliamp (mA) meter to your K40. While there are a lot of differing opinions on max power draw most agree it is somewhere between 18 and 20 mA’s. Some people even pull short at 15mA to improve tube longevity.
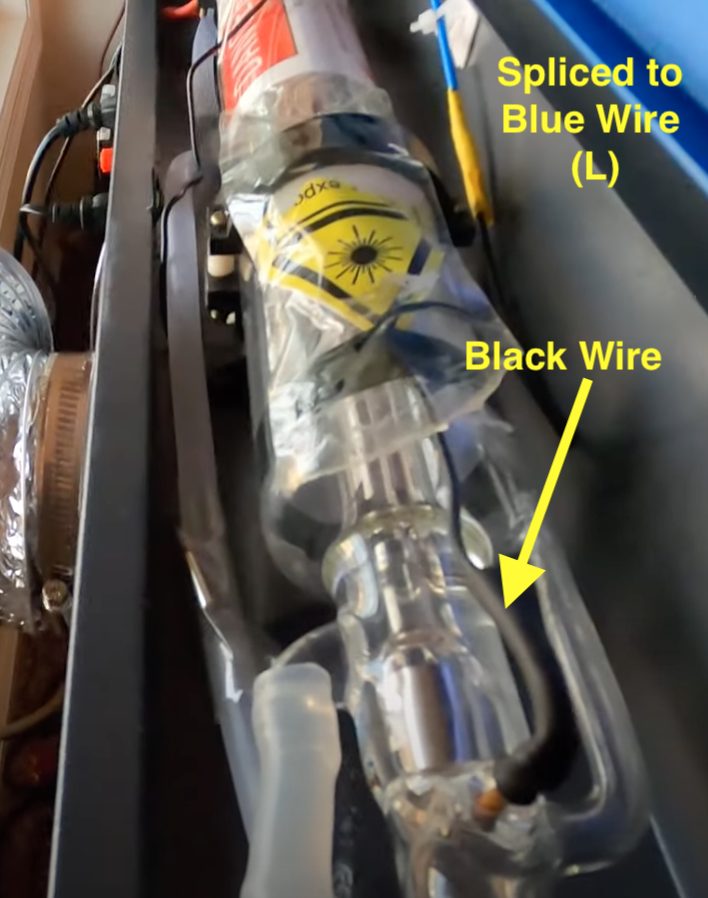
Adding a meter is SIMPLE. Locate the Black wire on the EXIT end of the laser tube. That is the end closest to the mirror. That black wire will be spliced to another wire that runs all the way to the L connection on the Power Supply.
Laser End
Power Supply End
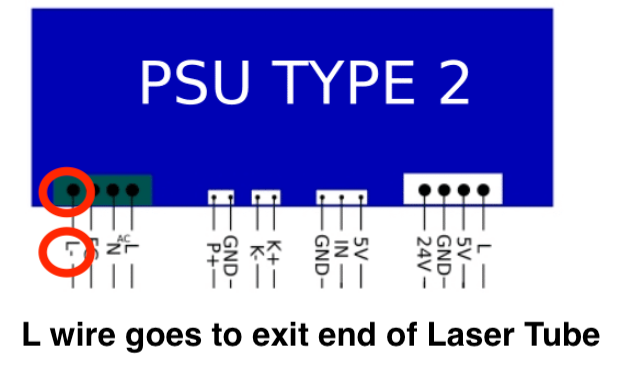
All you are doing is snipping this wire, and adding the meter in between the snipped ends. The bad news is though that on mine there wasn’t enough slack in the wire to pull this off.
I cut the splice where the black and blue wire come together and ran a new wire to the meter. To my surprise and shock, the black and blue wire splice was just two wires twisted together and electrical taped. WTF? Anyway, the remaining blue wire was pulled back through which left me a ton of slack to hook the meter up on the other end.
Get your meter from here. Mine required a 1 1/2″ hole for installation.
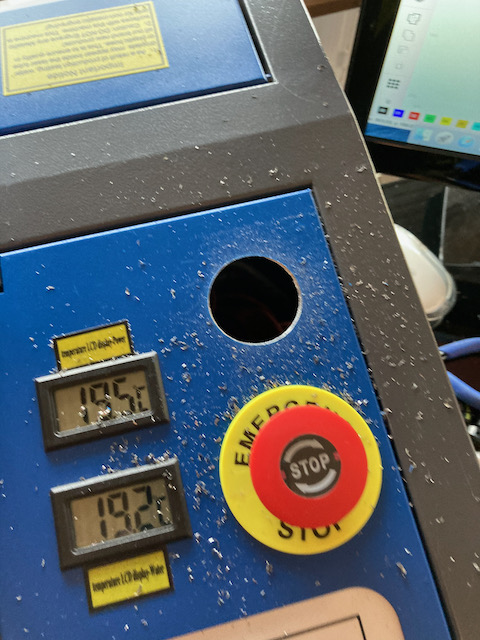
Make sure to either remove the entire door assembly or cover the power supply below so no metal shavings get inside.
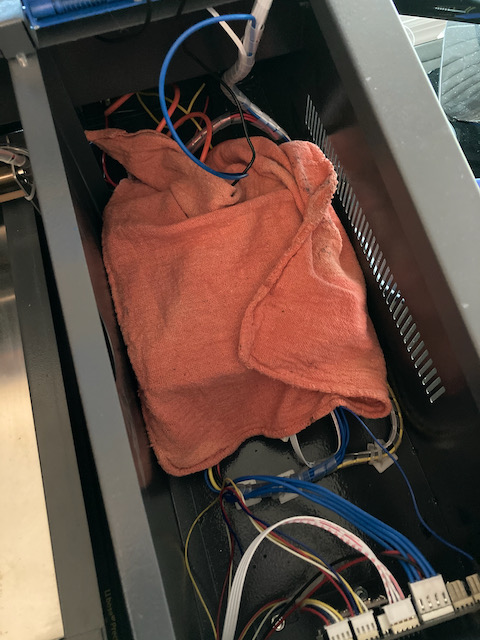
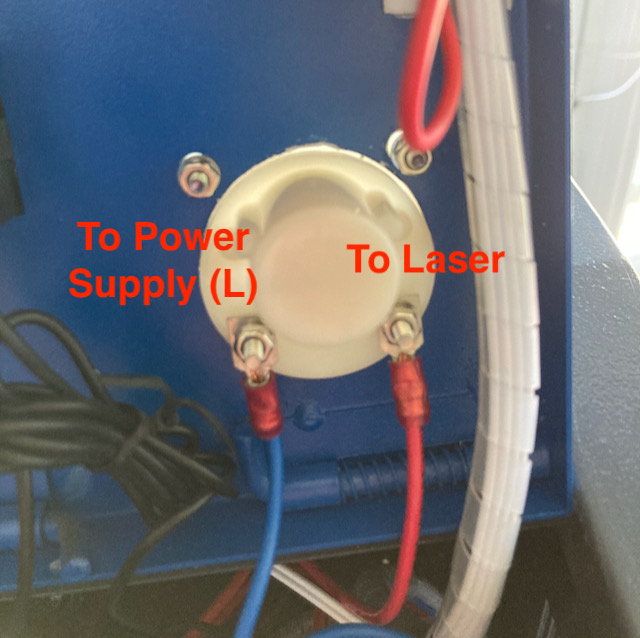
Put some compression connectors on the wire ends and simply wire it up. If the meter deflects backwards, then switch the two wires. It won’t hurt anything if you hook it up backwards.
As the meter is installed and the electronics compartment door is open the laser wire end goes on the right side (as you are looking at the back of the meter). You should of course check the documentation on your meter to observe the correct polarity. Yours could be different.
And here it is installed. I moved the sticker to the side of the laser.
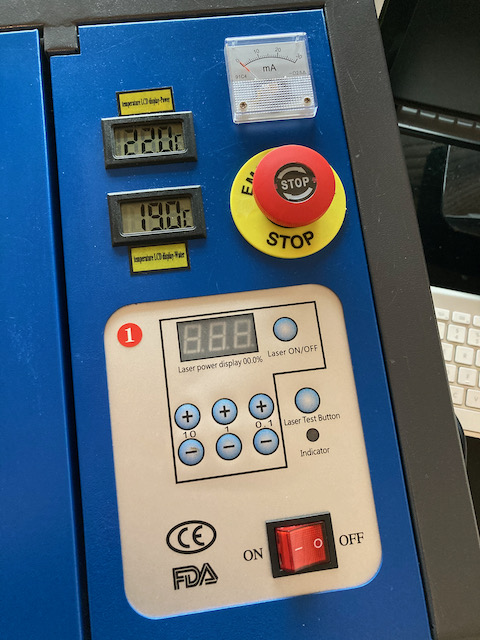
And that is all there is to it.
