xTool F1 Slide Extension
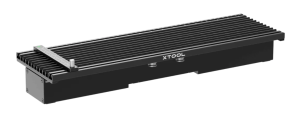
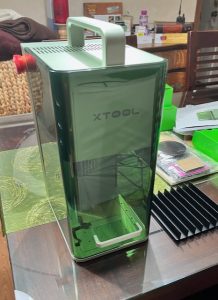
Recently, the laser company xTool began shipping their F1 machine. I was fortunate enough to receive one from them and did an initial impressions review here. They are now providing a great accessory, the xTool F1 Slide Extension ($199) and it is available now for purchase.
The F1 is a galvo laser, which is fast, but galvo lasers generally have a very small working area. Because galvo lasers have a mirror system which directs the laser beam and the lens is fixed focal length, the further the beam gets from the lens, the more out of focus it becomes. So that keeps the working area fairly small.
The Engineers at xTool have designed a BRILLIANT method of expanding the engraving length along the X axis (right to left) by UP TO 4X’s.
This creates ample room to engrave longer items, make signage, and to create templates to engrave more than one item at a time.
I’ve said this before, but xTool is the most innovative laser manufacturer out there. They are providing engineering solutions to overcome machine limitations in ways that I have not seen before.