
Ortur Rotary Chuck Y-Axis Review
I purchased an Ortur Rotary Chuck (YRC-1.0) the day they released them. I’ll be shaking this thing down to see if it is good enough for production work. The rotary was released subsequent to the xTool RA2 Rotary Pro which is an amazing rotary device. The Ortur device is listed at $229 and the xTool comes in at $287.
The xTool is a rotary chuck AND roller device. The Ortur YRC-1.0 is a rotary chuck only. You will still need to buy the YRR Rotary 2.0 roller which will cost another $79.99.
First Impressions
One of the first things I noticed was that it WILL NOT CONNECT TO THE ORTUR FLAGSHIP LASER (LASER MASTER 3) WITH THE PARTS INCLUDED IN THE BOX.
What in the actual hell?
The Laser Master 3 kit includes the adapter you need to complete the connection. God forbid you misplaced it. I will say this again. If you buy this rotary chuck kit it DOES NOT include everything you need to connect to your Laser.
Ortur Adapter Cables for Rotary (click pics to enlarge)


Unbelievably, the rotary will not connect to their own laser right out of the box. This is the kind of thing that Ortur always does that makes me not understand what is going on over there.
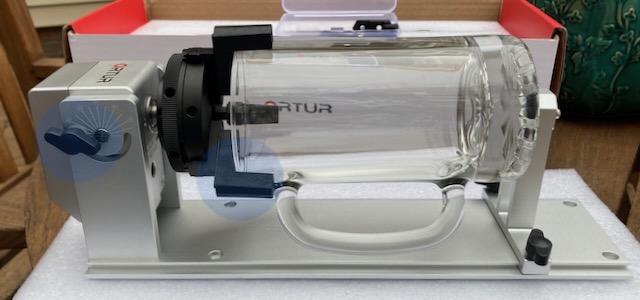
Assembly
Not much to the assembly. Just add the wing nuts for the chuck and put whichever set of jaws on that best fit the job you are planning on doing.
Lightburn Settings For Ortur Rotary
In order to make things work as they should you need to
- Connect the machine to the YRR port
- Enable Rotary in Lightburn
- Set Steps per rotation to 96mm
- Select “Chuck”
- Select “Y axis”
- Go to console and enter $22=0
- Go to console and enter $141=600
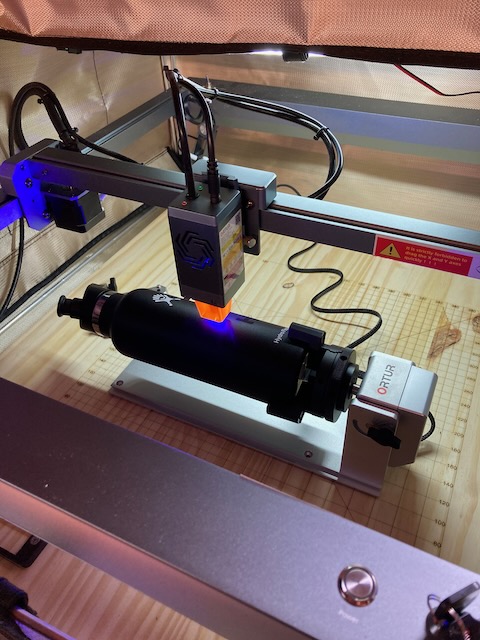
Now you are basically ready to roll. I set my machine to this orientation:
Chuck facing left, and drinking end inserted into the chuck. If using a glass mug as I did in the picture below you need to coat the glass with tempera paint or cold galvanizing spray or similar. On a powder coated tumbler no prep needs to be accomplished.

The image you are going to be burned should be rotated 90 degrees.
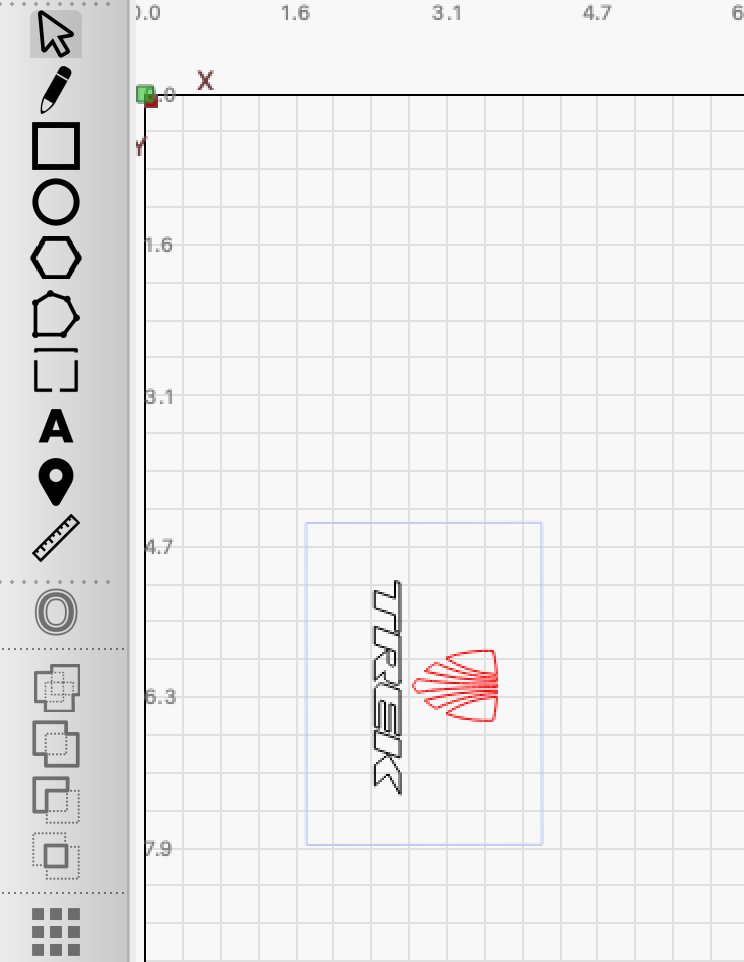
Here was my first real test. My bicycle Hydroflask.
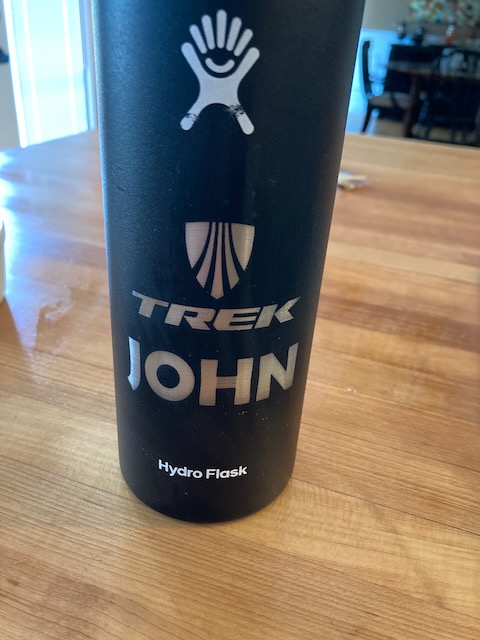
Burn Settings
This is going to vary wildly depending on the substate that you are engraving on. For my glass mug I used:
- 40mm/sec speed
- 90% power
- 300 lines per inch
That should make a nice frosty image on the mug.
Derigging
To get things back to normal you have to:
- Ensure YRR switch is back in normal position
- Disable Rotary in Lightburn
- Enter $22=1
- Enter $141=1000
Here’s some bullshit. If your LM3 is set to $22=0 and $141=600 then your macros for turning on the enclosure light and fan WILL NOT WORK. WTF?
Conclusions
Ortur has made a decent rotary device however it is not configurable as a roller. Just a chuck. xTool beat them to the punch with the RA2 Pro rotary and this seems like a game of follow the leader to me.
It sure would be nice to not have to enter console commands but that probably requires a different firmware. Forgetting to set the machine back to normal could create some confusion as there is no easy way in the Lightburn GUI to see what is going on under the hood.
Bottom Line. It works, it is easy to assemble, but configuration is multiple steps. And I still cannot for the life of me believe they sold a kit that doesn’t connect with their own laser. I guarantee that some people bought the Laser Master 3 and lost track of that YRR adapter cable. For God’s sake Ortur…………put the adapter in the kit or even better make a single cable that connects to your machine and provide adapters FOR OTHER CIRCUMSTANCES.
I have mine coming in the mail soon . I’m new to laser engraving and have the YRR 2.0 I’m learning with right now. What settings did you use for the coated bottle?
I set power at 50% and speed to 50mm/sec. Lines per inch was 317. I wish I had de-focused (raised up a little higher out of focus) just a hair.
Any updates on this rotary?
I’m interested if the angle adjustment is a key feature missing from the RA2 that would push me to this model over the other.
I had no problem connecting and configuring my YRC. I have 2 YRR rollers and the YRC chuck hands down is 100x better. With the angle and extrusion rods, I now have a niche for rings, lasering outside and inside of the rings.
Just set Macros in Lightburn to change those settings, easily click one button to set the LM3 to rotary mode and one click to set back to normal
Will the ortur work with xcs for engraving from xtool?
Won’t work.